Time-lapse is a visual technique that condenses the passage of time by playing back a sequence of still images captured at regular intervals.
With FireAlpaca’s time-lapse feature, you can record your drawing process step-by-step and save it as an APNG or GIF animation.
You can review the entire creation process like a video or easily share it on social media!

There are two types of time-lapse recording: manual recording and automatic recording.
Record a timelapse manually
1. “FIle” > “Time-lapse” > “Start Recording”
Selecting “Start Recording” will begin recording.

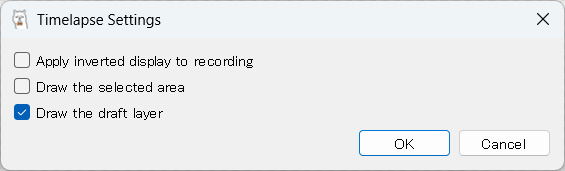
2. “Timelapse Settings”
The timelapse settings will open; please configure them to your liking.
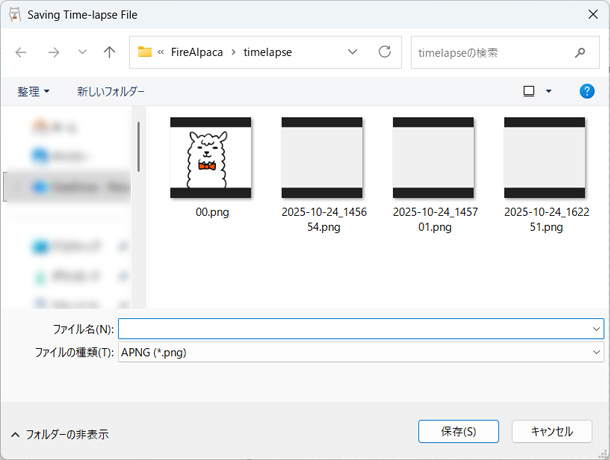
3. Time-lapse save location
Set the save location for the time-lapse (APNG data).
Enter a name and click “Save”.
4. Illustration drawing
Let’s draw an illustration.
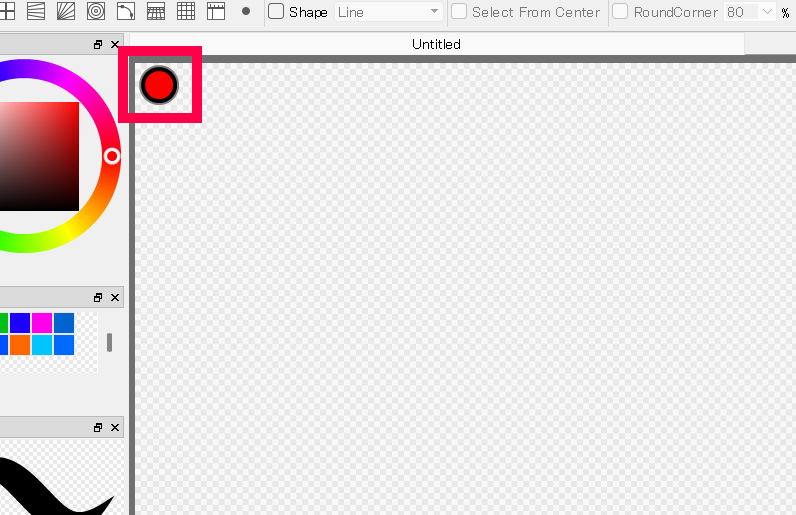
When a time-lapse is being recorded, a recording icon appears in the upper left corner of the canvas.
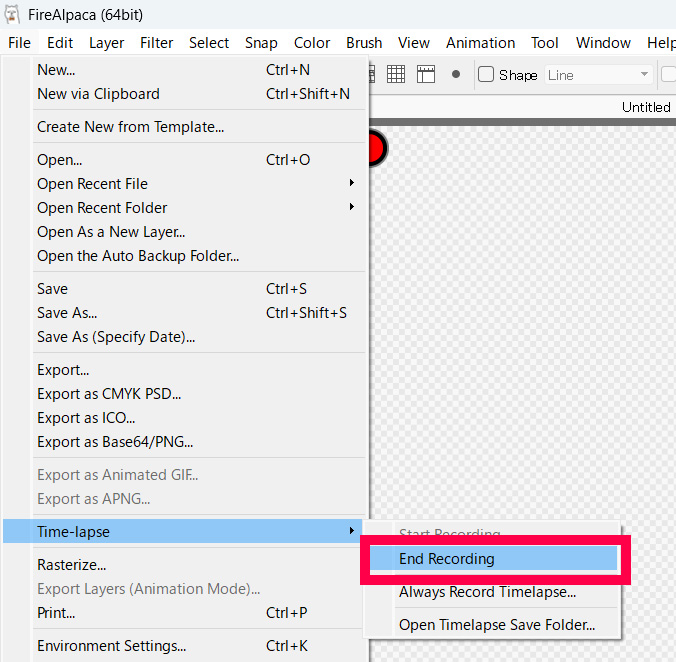
5. “FIle” > “Time-lapse” > “End Recording”
To stop recording, select “End Recording”.
Recording will stop.
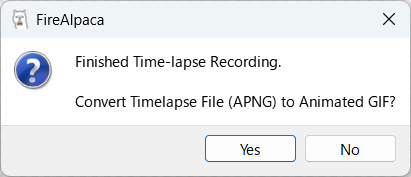
6. Conversion to animated GIF
Selecting “End Recording” will prompt you to convert to an animated GIF.
Choose “Yes” or “No” as needed.
Since posts to the social media platform “X” require animated GIFs, converting beforehand can be quite convenient.
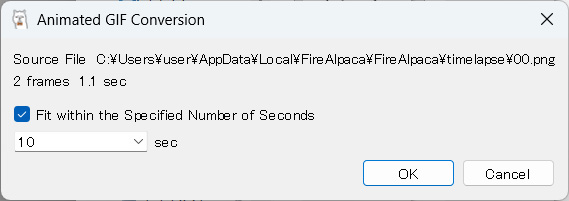
7. “Animated GIF Conversion” Settings
Configure settings for converting to animated GIFs.
You can also set a time limit for the video. This is a useful feature when dealing with long videos.

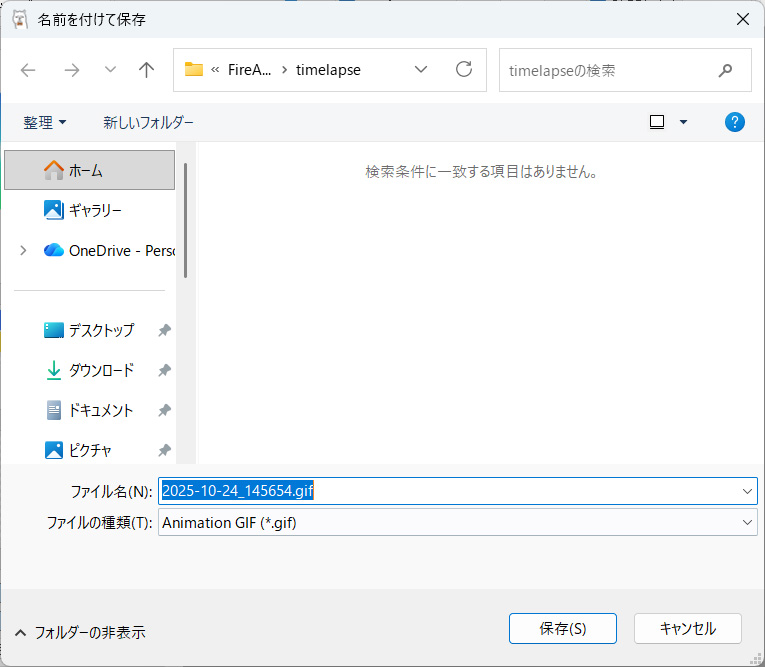
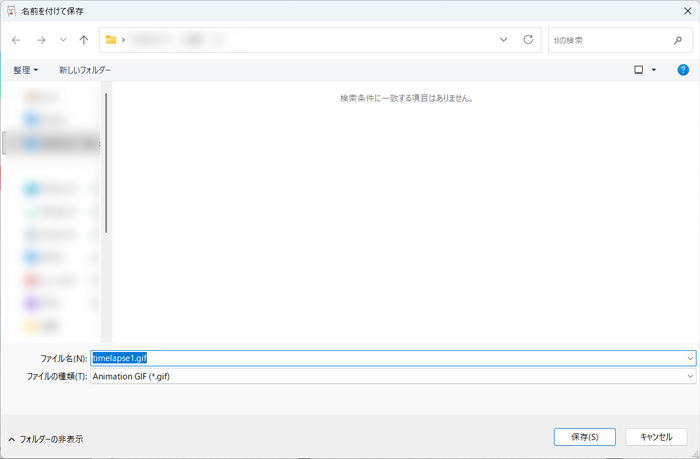
8. Animated GIF Save Location
Set the save location for the animated GIF.
Simply click “Save” after naming it to complete the process!
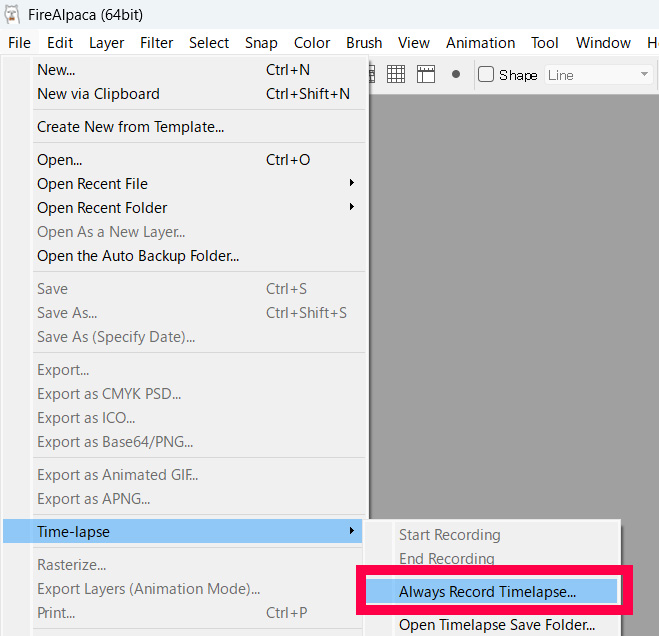
How to Automatically Record Time-Lapse Videos
1. “FIle” > “Time-lapse” > “Always Record Timelapse…”
2. “Timelapse Settings”
The timelapse settings will open; please configure them to your liking.
3. Illustration drawing
I draw illustrations.
Selecting “Always record time-lapse” will automatically record everything from when the file opens until it closes.
During recording, a recording icon appears in the top-left corner of the canvas.
4. “Open Timelapse Save Folder…” to check the recorded files.
Automatically recorded time-lapse images (APNG) can be viewed by selecting “File” > “Time-lapse” > “Open Timelapse Save Folder…”.
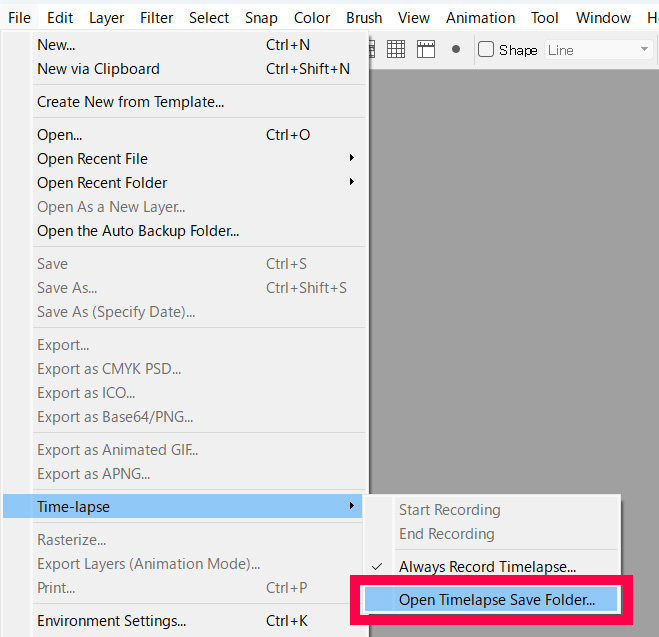
Selecting this will open the destination folder.

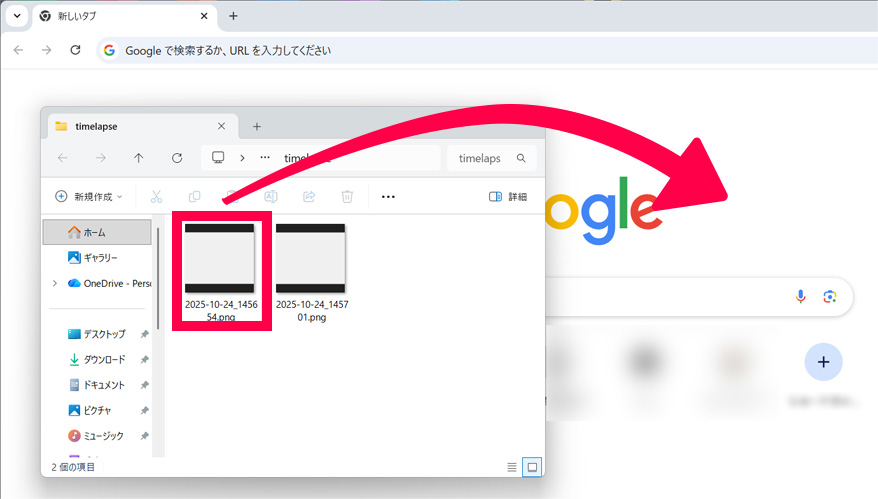
5. Check the contents of the saved file
Saved APNG files (recording files are not supported) can be viewed as videos in a browser.
You can open them by dragging and dropping them into the browser.
6. Convert your favorite videos into animated GIFs
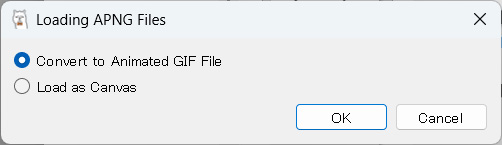
If you find a video you like, open it in FireAlpaca. A dialog will appear where you can select “Convert to Animated GIF File” to save it as a GIF.
First, open the video file in FireAlpaca.

When you open it in FireAlpaca, the “Load APNG File” dialog will appear. Select “Convert to Animated GIF File” and click “OK”.
7. “Animated GIF Conversion” Settings
Configure settings for converting to animated GIFs.
You can also set a time limit for the video. This is a useful feature when dealing with long videos.
8. Animated GIF Save Location
Set the save location for the animated GIF.
Click “Save” with a name, and your animated GIF is complete!